The Science of Survival Why 400°C Filters Are a Different Beast

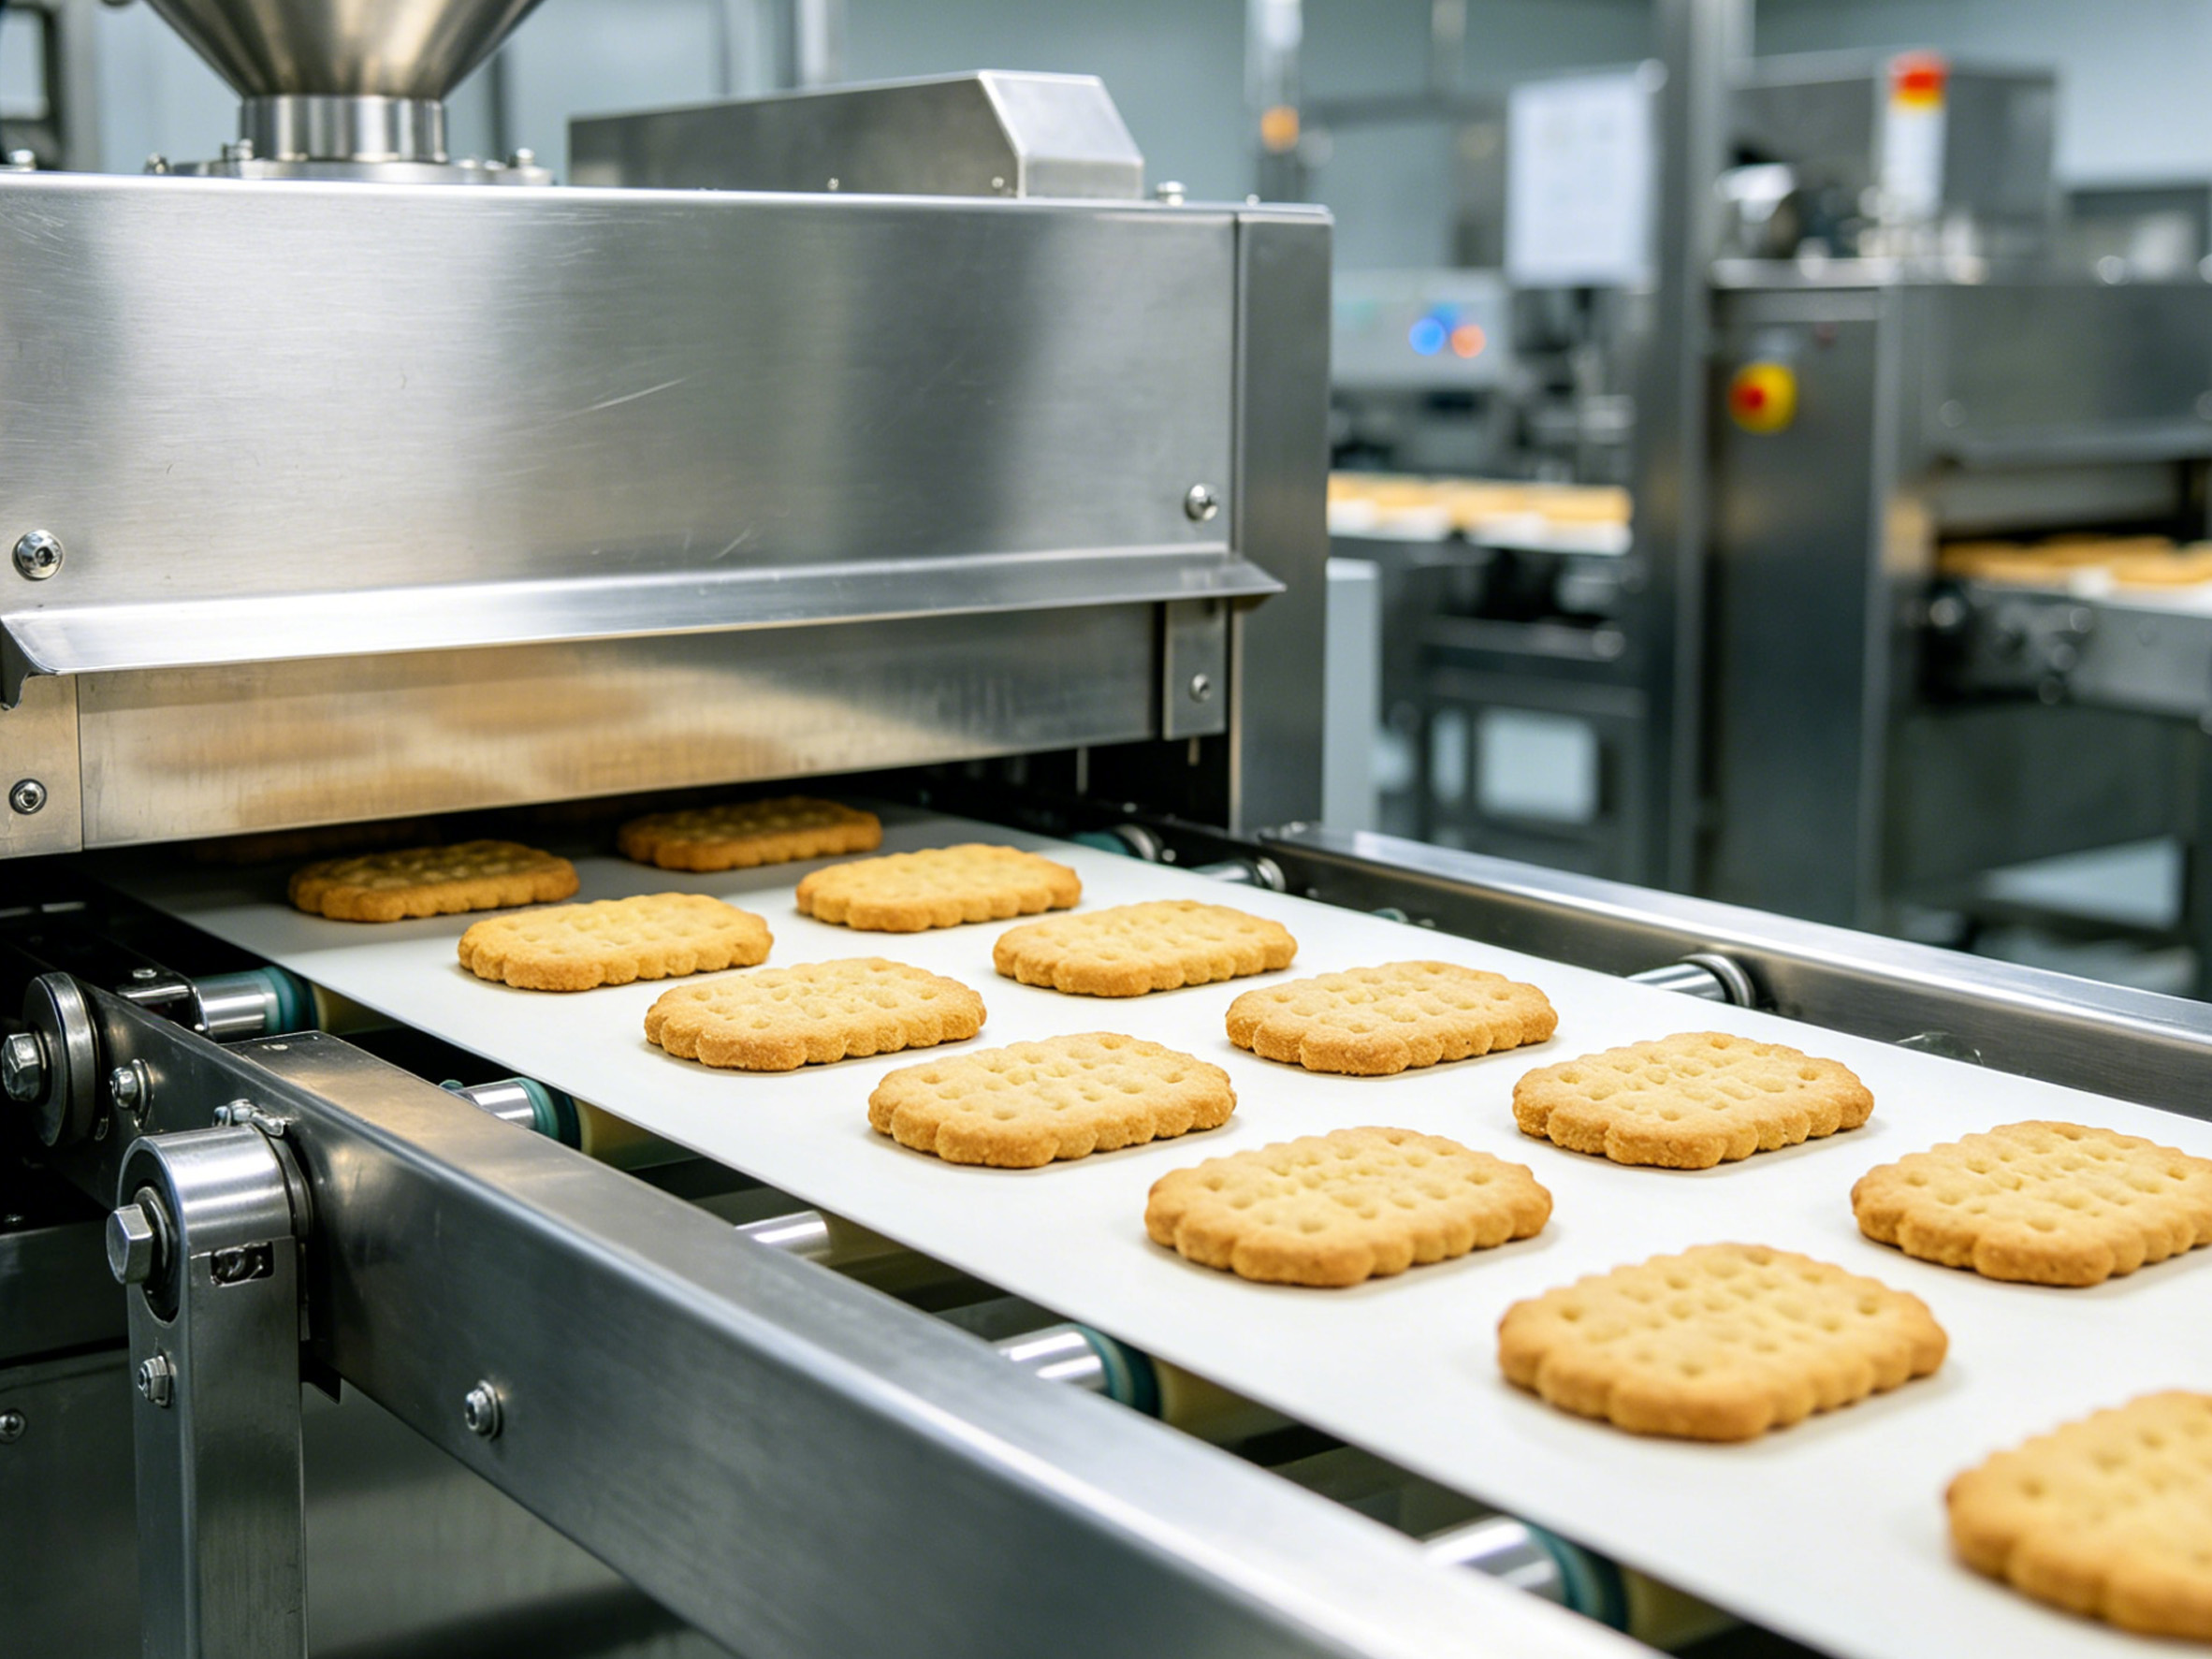
In industrial manufacturing, particularly within baking lines and high-heat processes, maintaining air purity is just as critical as in a cleanroom. However, standard filtration solutions often crumble under extreme thermal stress. To achieve stability at 400°C, we must look beyond ordinary paper and embrace specialized material science.
Here is why standard filters fail and how high temperature filters made with specific materials ensure stability in baking lines.
1. The Breaking Point: Why Ordinary Filter Paper Fails
Ordinary filter media, typically made from wood pulp or standard synthetic fibers, is designed for ambient temperatures. When introduced to a baking line environment, the results are often catastrophic.
· Thermal Degradation: Standard cellulose fibers begin to carbonize and turn to ash well before reaching 200°C. At 400°C, they simply disintegrate, leading to immediate filter failure and potential downstream contamination.
· Binder Failure: The adhesives used to hold standard pleats together often melt or off-gas toxic fumes at high temperatures, compromising the structural integrity of the filter.
· Incompatibility: Unlike high temperature filtration solutions, ordinary paper cannot withstand the thermal expansion and contraction cycles of an industrial oven, leading to warping and leaks.
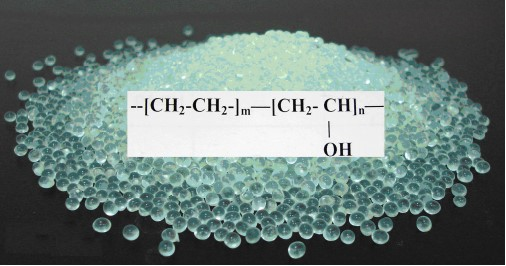
2. The Core Solution: Special High-Temperature Glass Fiber
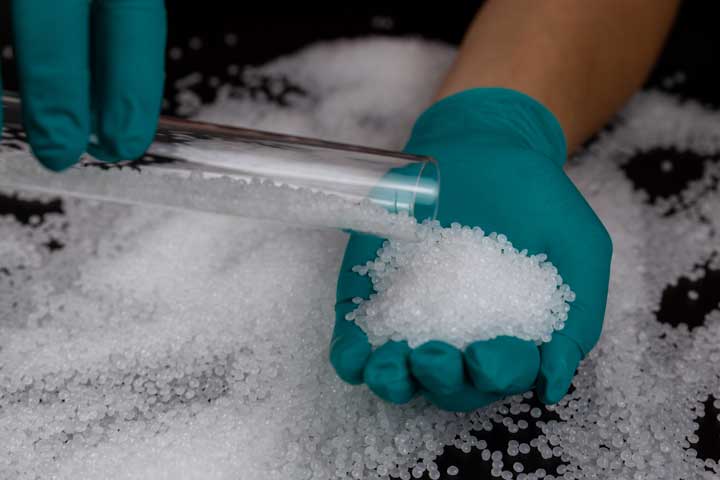
The secret to surviving 400°C lies in the media itself. We utilize specialized high temperature glass fiber paper, which offers distinct advantages over traditional materials.
· Inorganic Stability: Glass fibers are inorganic and do not burn. They maintain their physical structure and filtration efficiency even when exposed to continuous temperatures of 400°C.
· Low Resistance: Despite their density, these specialized fibers are engineered to allow airflow with minimal resistance, ensuring the baking line's ventilation system operates efficiently.
· Durability: This media is resistant to chemical corrosion often found in industrial exhaust, making it a robust choice for harsh environments.
3. Sealing the Deal: High-Temp Adhesives and Baking Line Stability
A filter is only as good as its seal. In a 400°C environment, standard glues and gaskets will fail, allowing unfiltered air to bypass the media.
· Ceramic & Silicone Sealing: We employ high-temperature resistant sealants (often ceramic-based or high-grade silicone) that remain flexible and adhesive at extreme heat, preventing air leakage.
· Structural Integrity: The combination of high temperature glass fiber and robust sealing ensures the unit remains stable within the baking line, preventing vibrations or collapse.
· Longevity: These materials are designed for long service lives, reducing the frequency of maintenance shutdowns in critical production lines.

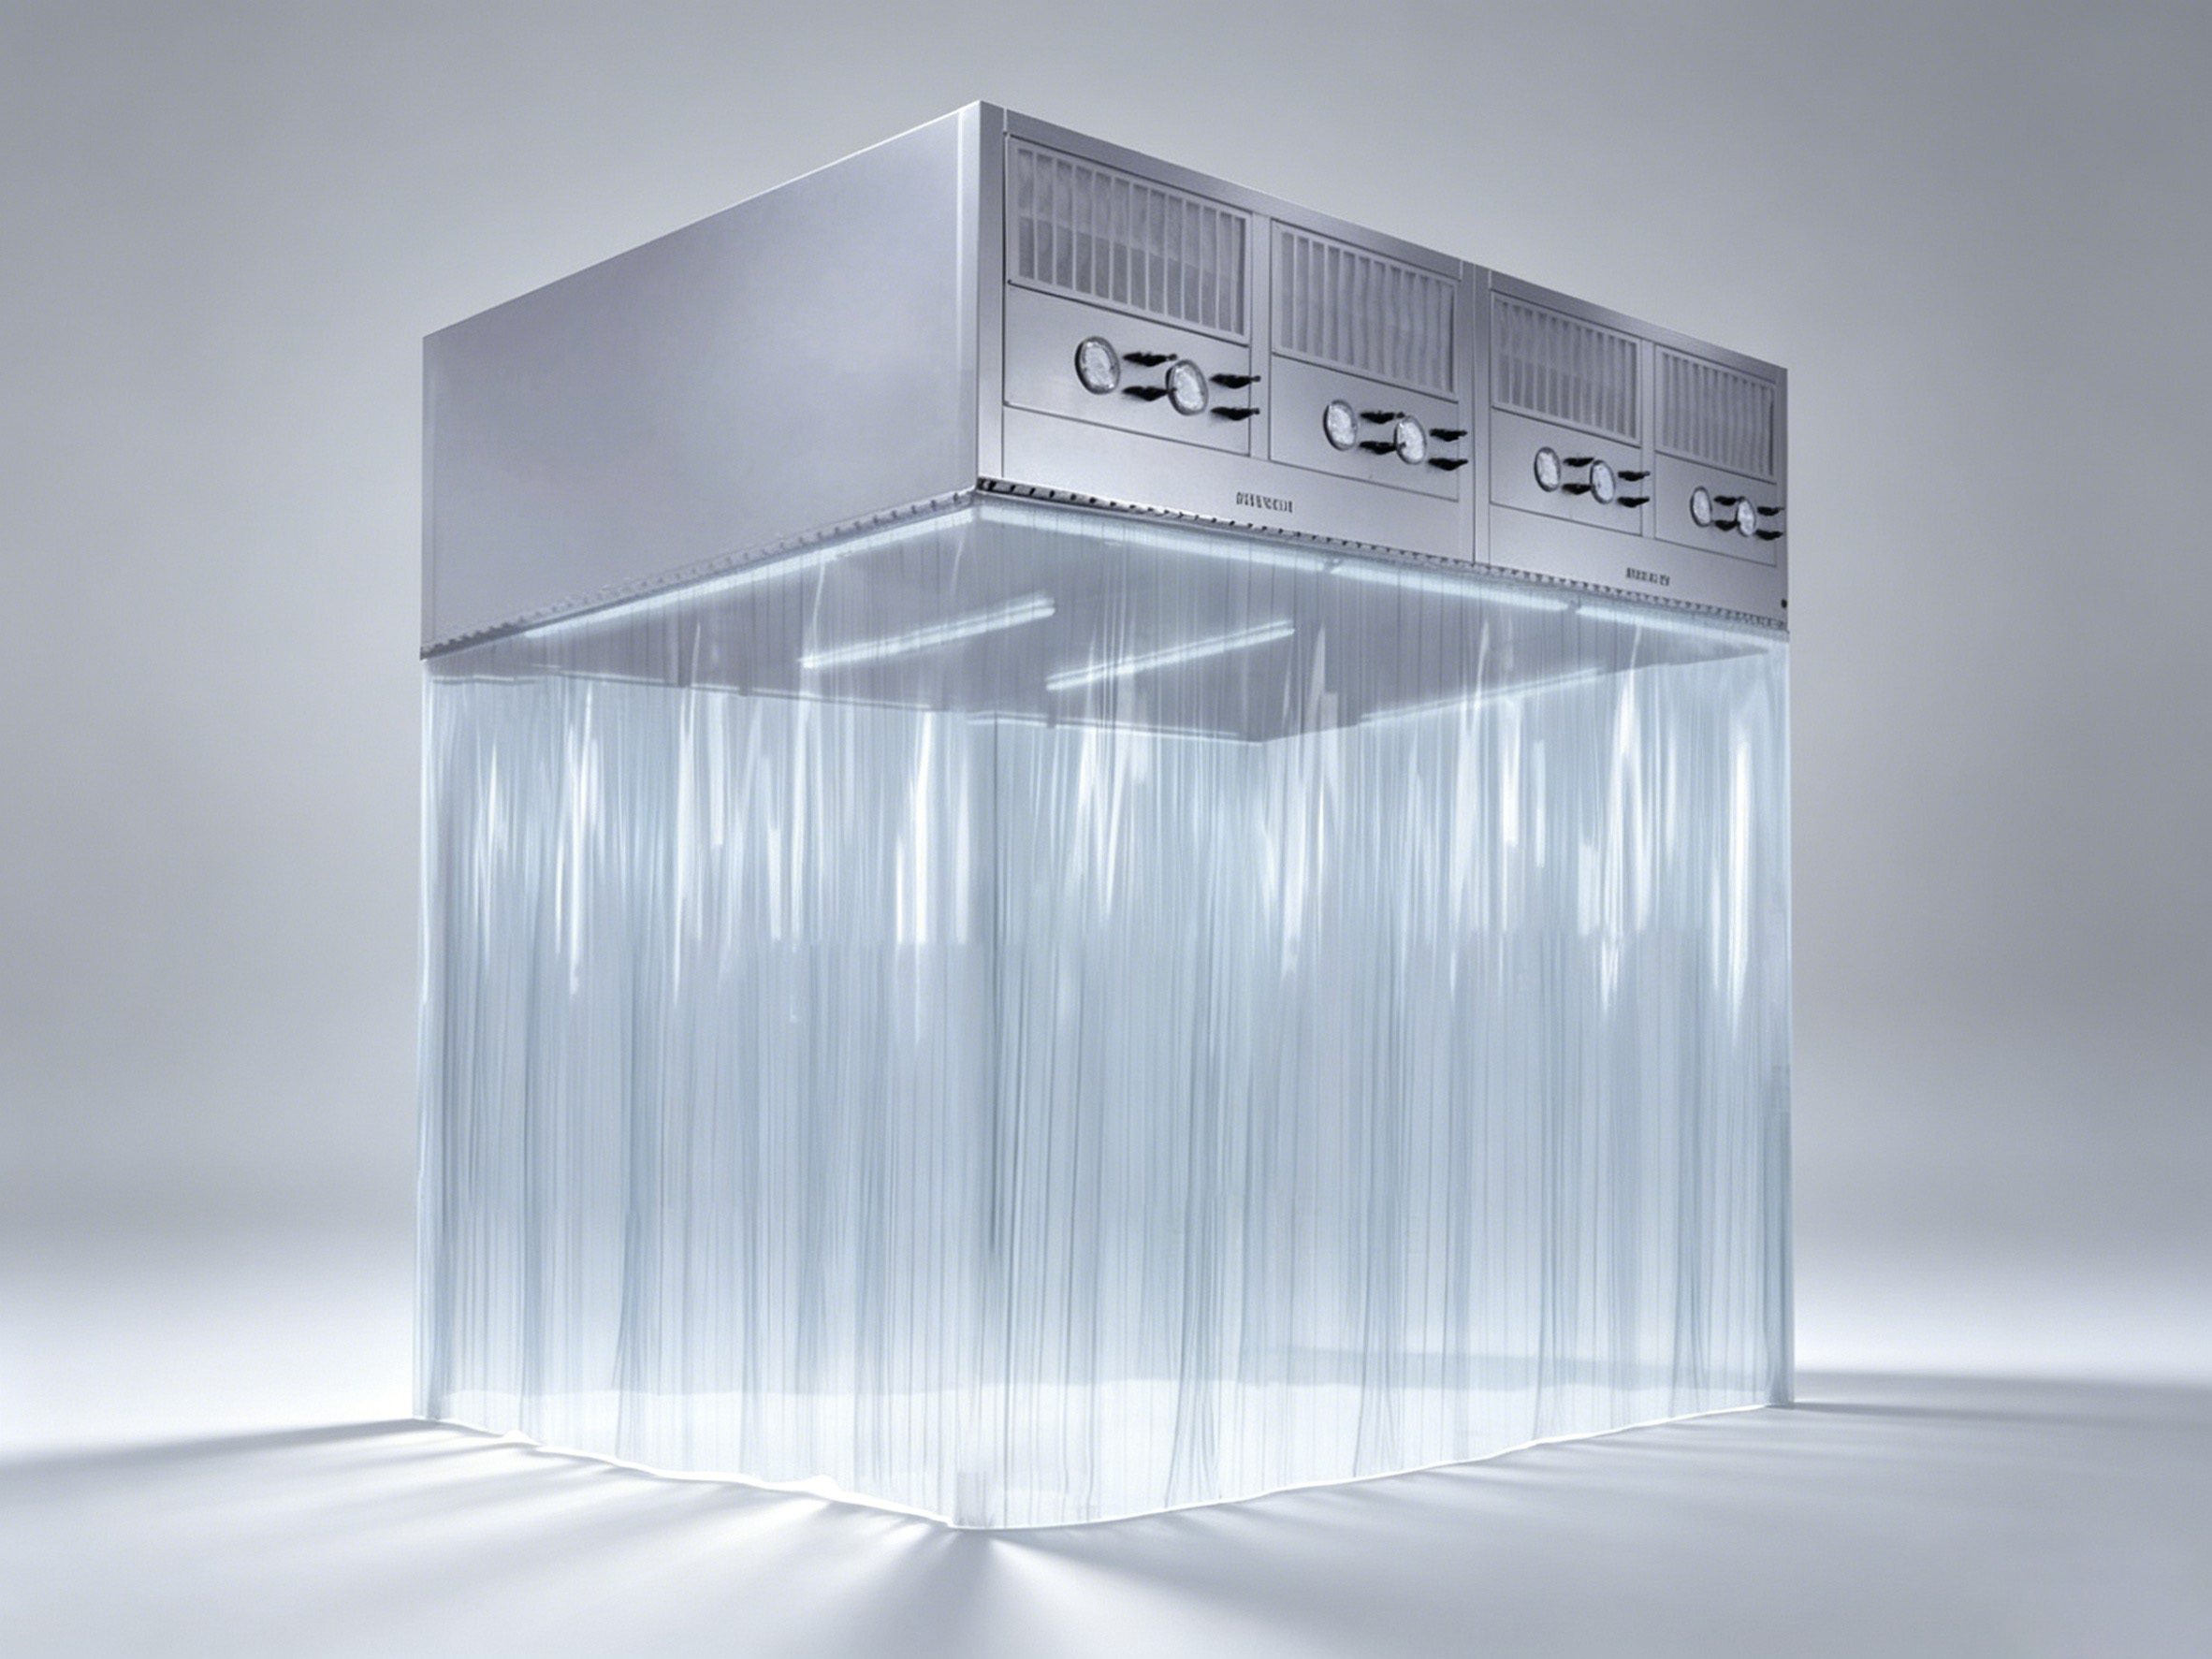
4.The Precision of High-Temperature Pleated HEPA Filters
When a process demands both extreme heat resistance and the absolute purity of HEPA filtration, standard solutions are inadequate. The high temperature pleated hepa filter is engineered for this exact challenge, combining robust materials with precision engineering to ensure performance where others fail.
Unlike conventional filters, its core is constructed from specialized high temperature glass fiber, an inorganic media that maintains its structural integrity and filtration efficiency even when exposed to continuous temperatures up to 400°C. The pleated design is not merely for surface area; it is meticulously engineered to maximize airflow while minimizing pressure drop, a critical factor in high-temperature applications.
The true test of its resilience lies in its construction. These filters utilize high-temperature sealants, often ceramic-based, to create a perfect, leak-proof seal that prevents any bypass of unfiltered air. This ensures that even in the harshest thermal environments, the stringent standards of HEPA filtration are met without compromise, protecting sensitive processes and ensuring product quality.
For facilities requiring reliable air purification in extreme heat, upgrading to high temperature filters is not just an option—it is a necessity for safety and quality.